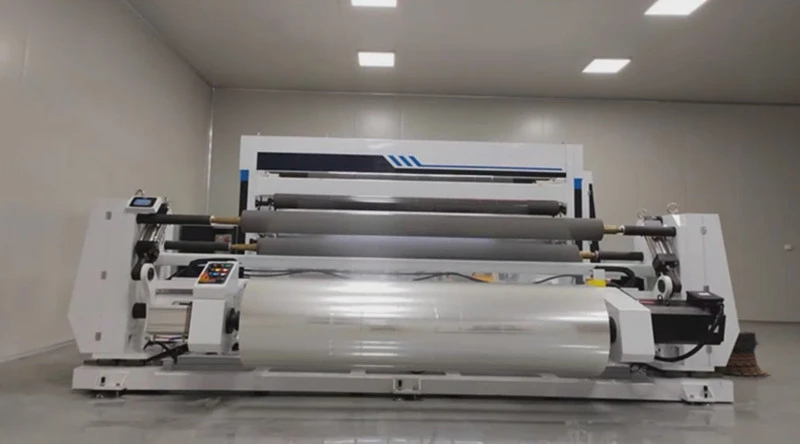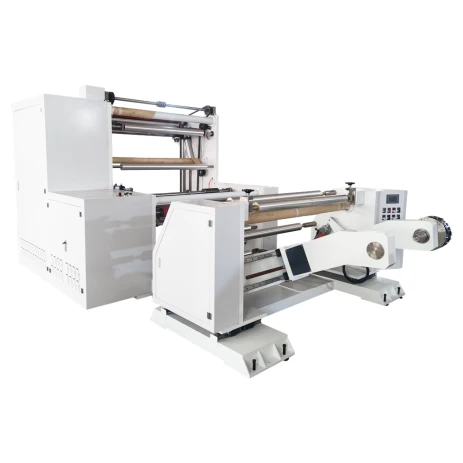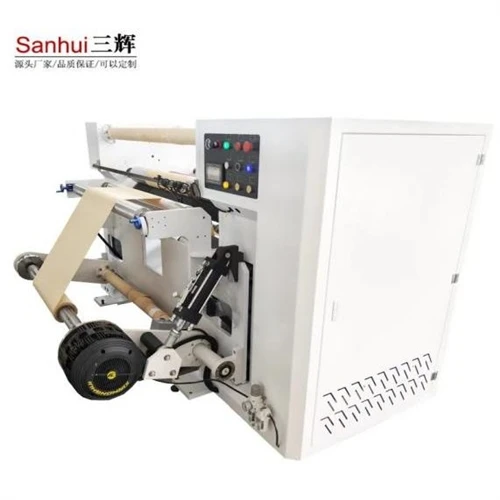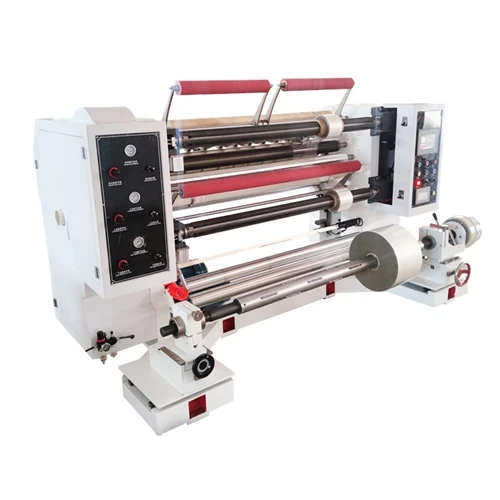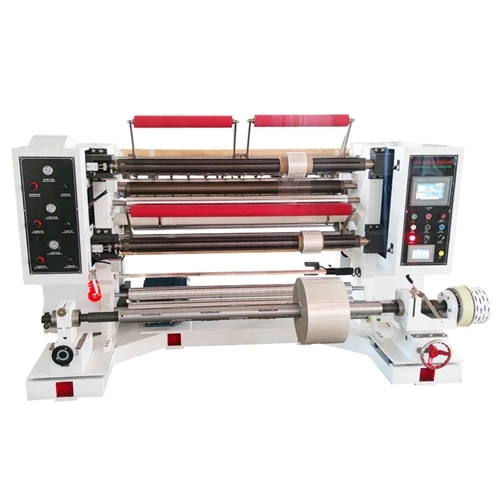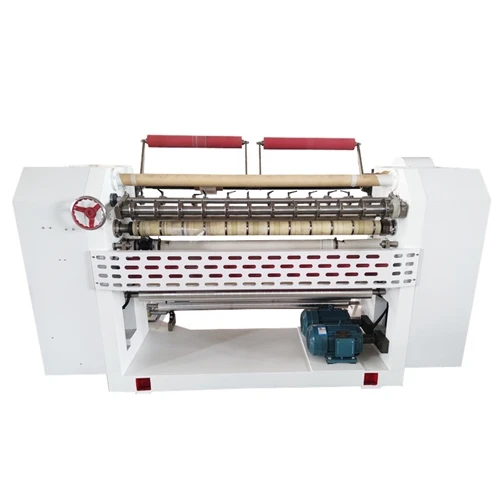
1. Check if the number of joints on the product cross-section matches the number you have connected. If the hot melt adhesive coating machine does not match, immediately rewind and check to prevent internal joints from being mixed into the product.
2. Adjust the EPC device according to the characteristics of the semi-finished product, ensuring the EPC photoelectric sensor is always on the tracking line. Hold one end of the film by hand and start the machine at low speed to allow the film to enter the track normally.
3. Stop by pressing the stop button. When unloading, do not touch the take-up shaft with your hands to avoid your fingers being pinched.
4. Start the machine slowly and observe whether the slit film meets the quality requirements. Then slowly increase the speed to begin slitting. When the machine is running, do not put your hands inside the machine to avoid pressing on your hands.
5. Open (close) the raw material tray to the appropriate width and place the semi-finished film roll to be slit on the tray. When loading, your hands must be away from the film roll cross-section. Two people are not allowed to operate at the same time to prevent your hands from being pinched by the cylinder.
6. Return the photoelectric sensor to the center position and ensure that the slider of the unwinding table is in the appropriate position in the middle of the guide roller.
7. Thread the compliant paper tubes onto the take-up shaft. Following the normal method, guide the cut, compliant products onto the paper tubes on the upper and lower take-up shafts. Start the machine at low speed, locate the appropriate position of the paper tubes on the take-up shaft, and mark it for future installation. When installing the paper tubes, hold them firmly to prevent slippage and damage from the shaft.
8. Guide all slit films onto the take-up shaft according to the operating requirements. No blades are allowed on the machine when threading the film to prevent scratches.
9. Install the slitting blade holder to the appropriate position according to the task sheet requirements, tighten the lower blade, and then start the machine at low speed to cut the semi-finished products into the required specifications.
10. Turn on the machine power. Set the winding and unwinding tension, automatic stop count of the counter, and material thickness according to the task sheet requirements. After setting, turn on the photoelectric sensor.